Gluten Free Home Brewing Blog
Using A Counterflow Wort Chiller To Conduct Reverse Step Mash (The Grainfather)
Let's talk about wort chillers! Most home brewers are familiar with the trusted immersion chiller. This is a tried and true method of cooling a wort relatively quickly. During the summer months when the tap water is not very cold I will use a second immersion chiller in a bucket of ice to get the water as cold as possible before it reaches the immersion chiller in the brew kettle. (Full disclosure; I use the same immersion chiller during the summer in combination with my counterflow wort chiller!) Another option is using a plate chiller which is probably the fastest way to cool the wort after the boil.
But why is an efficient wort chiller important in the first place? It isn't just to quicken the pace of post-boil to pitching the yeast. Something happens to the wort post-boil that can have some unwanted consequences. And that something is DMS or Dimethyl Sulfide which can attribute a corn, celery, cabbage and/or parsnip flavor in the finished beer. DMS is created whenever wort is heated, and evaporates during the boil. However, DMS takes about 80 minutes to boil off and most beer recipes use a 60 minute boil schedule. Some brewers will conduct a 90 minute boil, which requires collecting more wort to account for the boil off rate.

So a longer boil fixes this problem, right? Nope. The longer your wort sits around post-boil without being rapidly cooled, that unwanted DMS continues to be produced. Enter the wort chiller. The immersion chiller is, well, immersed in the wort and cools all the wort all at once. Granted it does require some stirring or thermal pockets will form around the immersion chiller. This is a real thing! If the wort does not circulate even minimally you can have nice cool wort near the immersion chiller and still see steam coming out of the brew kettle. On the other hand, as quickly as the plate chiller goes to work chilling your wort, it only does so for the wort moving through the plate chiller. The rest of the wort is just sitting around in the brew kettle waiting it's turn in line. And neither the immersion or plate chiller and really designed to conduct a reverse step mash.
If you are brewing gluten free beer you are probably either thinking about or already conducting a reverse step mash. Now, you do not have to conduct a reverse step mash to brew gluten free beer. But it certainly opens your beer brewing to some more options and some pretty amazing efficiency using the various enzymes, such as Ondea Pro. But again, before you email me frustrated that I am pushing the reverse step mash, there are other mash regimes that are getting great results. At this time the reverse step mash seems to produce the most consistent repeatable results. We highly encourage you to experiment. Seriously, we are all in this together and "the way" to brew gluten free beer has not yet been mastered.

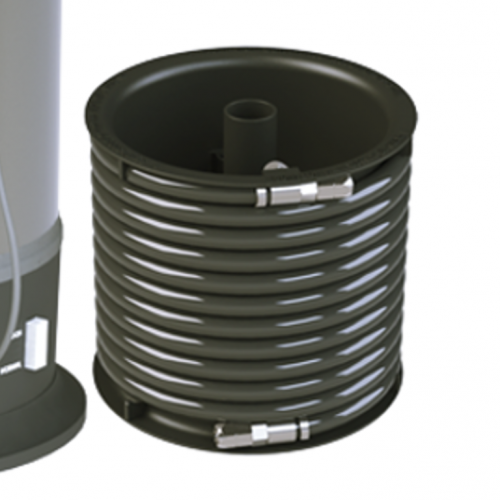
So what makes the counterflow wort chiller so special? It does a few things: 1) rapidly cools the wort, 2) recirculates the wort, 3) can be used to conduct a reverse step mash! And it can drop your 175-185F mash to 145F in mere minutes, so don't wander away for too long or you will overshoot your target temperature. Also keep in mind that the thermometer, dial or digital, may have a slight delay too. It is really easy to overshoot your target mash temperature. Below you can see a quick and simple reverse step mash using The Grainfather. (Sorry, the top of the video get cut off. We are still figuring this video blog thing out!)
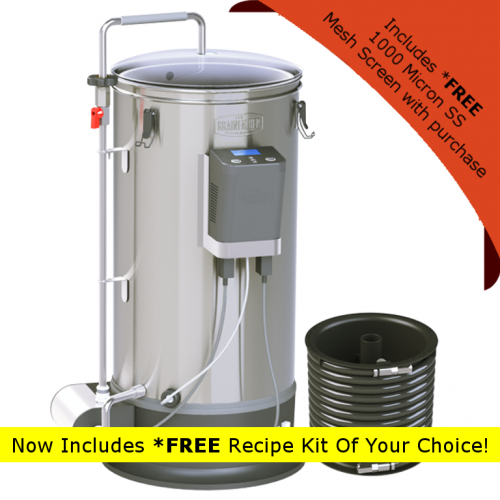
The counterflow wort chiller is a $189.99 accessory included in the purchase of The Grainfather!
You can buy The Grainfather HERE
~Cheers!